This shop has been compensated by Collective Bias, Inc. and its advertiser. As always, all opinions are mine and mine alone! #LetsMakeSmores #CollectiveBias #sponsored
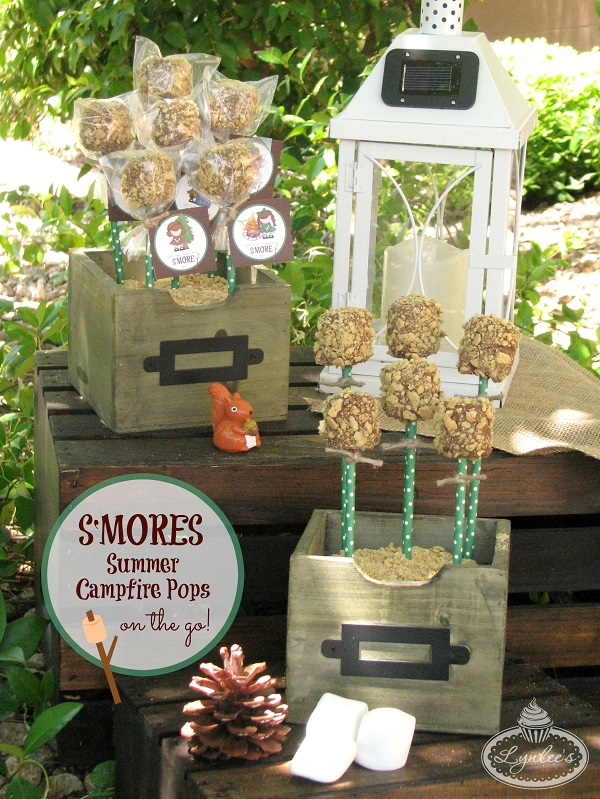
Now that Memorial Day has passed and the forecast for this weekend in Las Vegas is 100°, I think it’s pretty safe to say that Summer is here! My daughter, Anabelle, is about to kick off the season with her very first camping trip with her Girl Scout troop this weekend and I’ve been spending the week trying to prepare and pack appropriately for her adventure. One of the first thoughts that popped into my mind {other than the fact that I’m going to miss her so!} is that no campfire and Summer get-together is complete without S’MORES! I mean, of course I would automatically go directly to the sweets, right?! Lol!
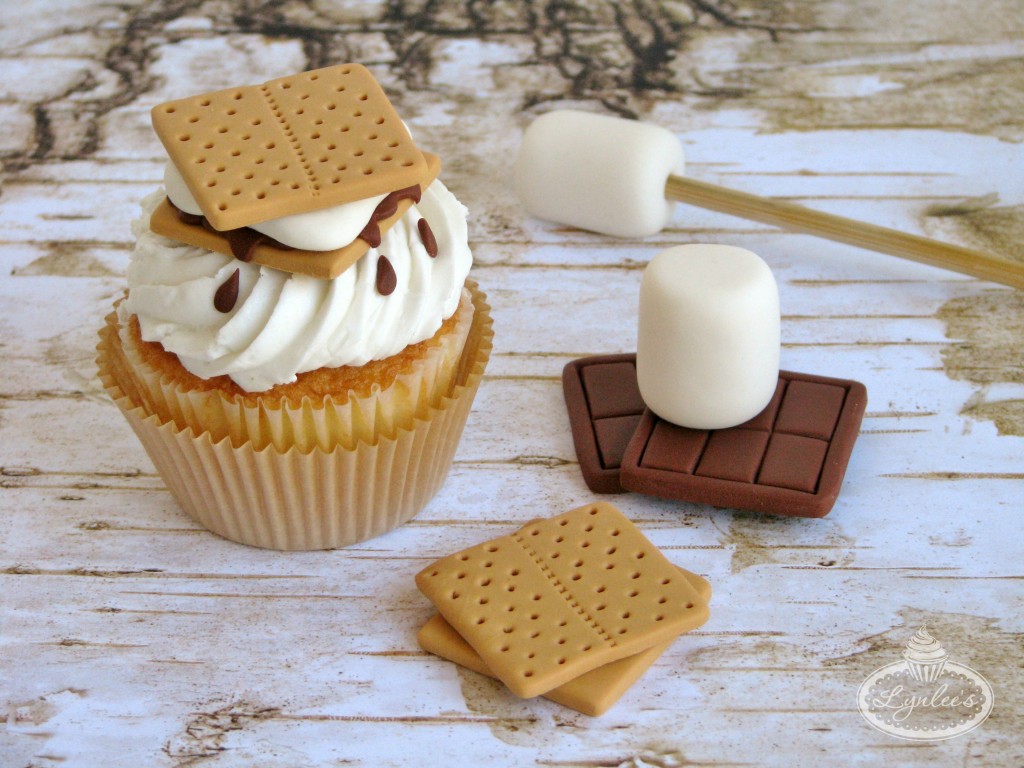
One of the most synonymous characterizations of Summertime in our household are, without a doubt, these delicious treats! I even made some s’mores and its ingredients out of fondant in this Gimme S’more tutorial last Summer! Though we had a S’mores Bar at our Arizona Cowboy party a few years back {thanks to the available bonfire pit}, several of our Summer party locations didn’t have access to a fire, so I had to improvise, such as at our Take a Hike and Silly Old Bear celebrations. I remember trying to come up with a s’more recipe I could make beforehand to display on the dessert tables and I naturally went to a treat on a stick because, not only are they super cute and add dimension to any presentation, they are also easily portable!
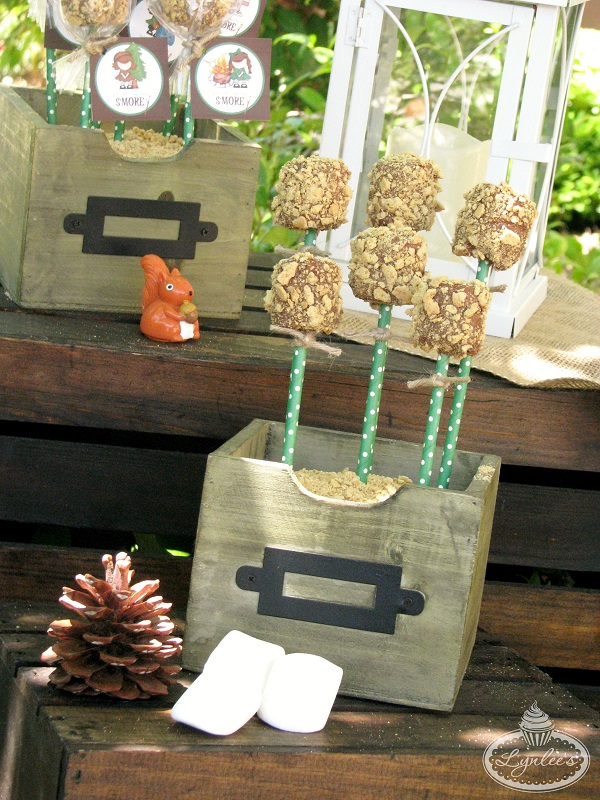
So, I decided that these s’mores pops would be the perfect goody that I could prepare beforehand and send along with my daughter so she could share them with her troop at camp!
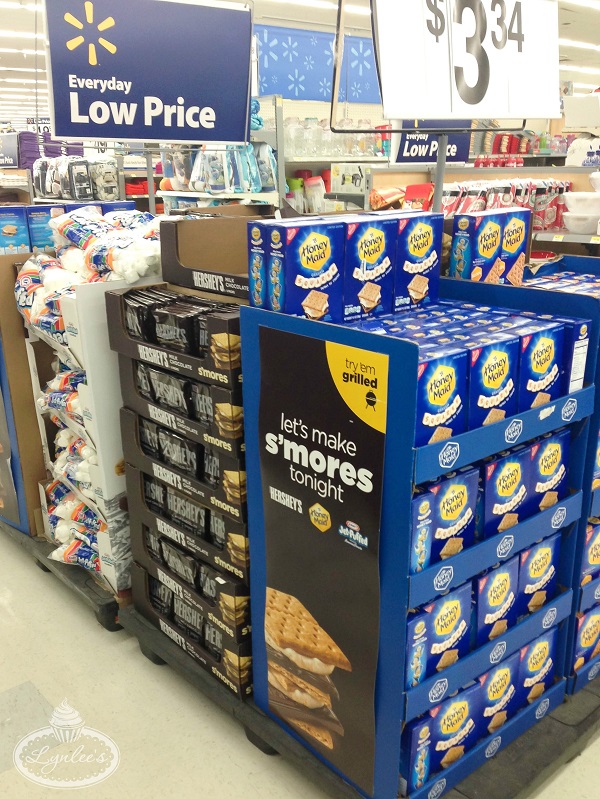
I went to my local Walmart to pick up the items included in Anabelle’s camping packing checklist {i.e. bug spray, flashlight, water bottle, sunscreen, etc.} and while I was there in the seasonal Summer aisle, I ran into this awesome display with all the ingredients I needed to make the s’mores pops! I didn’t know how the heck they knew I was coming, but I was thankful they had it all ready for me in one place! 😉 Scroll down for the super simple recipe and tutorial to make the s’mores pops for your own Summertime activities and celebrations!
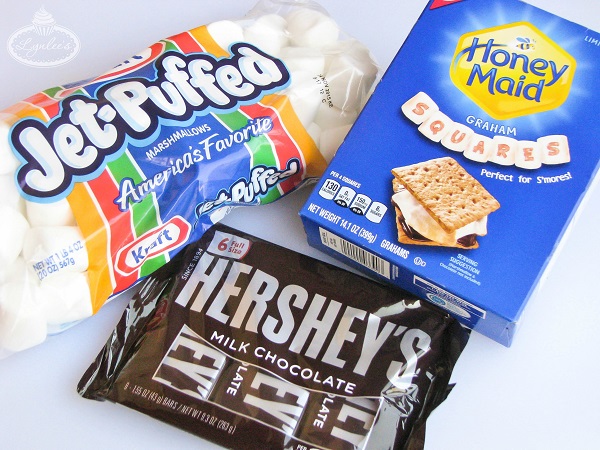
Materials Needed:
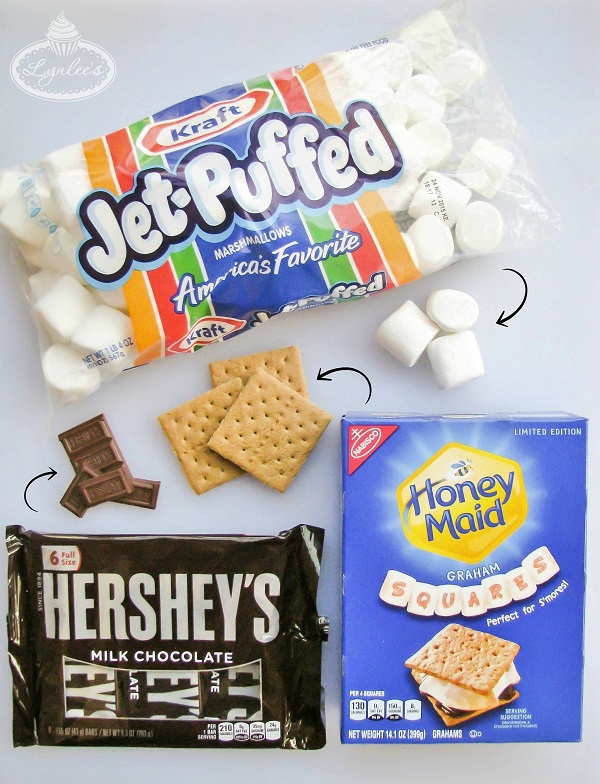
♥ Hershey’s Milk Chocolate bars
♥ Honey Maid Graham Cracker Squares {FYI ~ exclusively at Walmart!}
♥ Kraft’s Jet-Puffed Marshmallows
♥ Sticks or straws for the pops
♥ Microwavable bowls {2} and spoon
♥ Foam to insert the s’mores pops
♥ Rolling pin
♥ Large zip plastic bag
*Keep in mind the ingredient quantities listed below yield approximately 1 dozen s’mores pops. Adjust accordingly to make more!
Step 1:
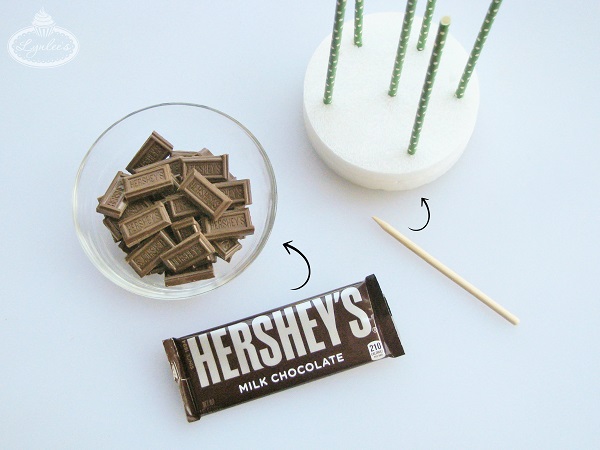
Break apart 2–3 Hershey’s Milk Chocolate bars into a microwavable bowl. Prepare your foam ahead of time by utilizing a stick to make holes to later insert your pops.
Step 2:
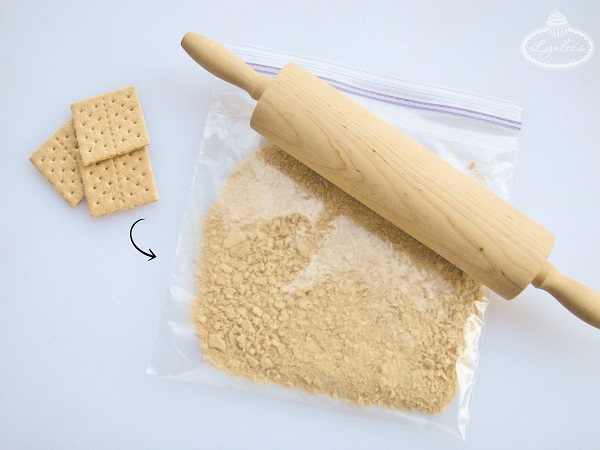
Insert approximately 8 Honey Maid Graham Cracker Squares into your large zip bag and seal it. I utilized additional crackers in this image to make additional crumbs to use as a filler in my display. Then, begin to break the graham crackers by using the rolling pin over the bag. I like to lightly roll over the crackers, while leaving some larger crumbs for not only aesthetic purposes, but also to give that extra crunch when biting into them! When complete, pour the cracker crumbs into a bowl.
Step 3:
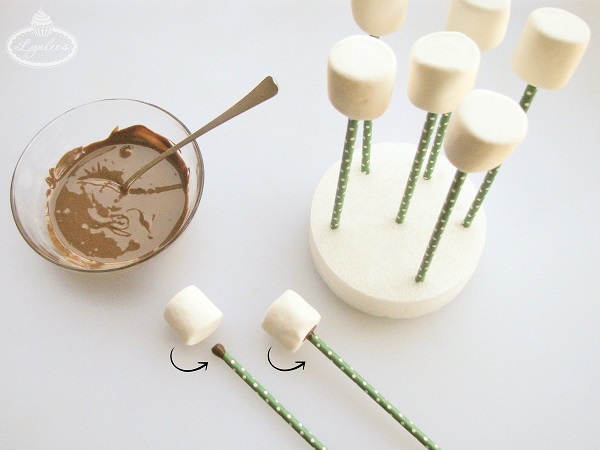
Microwave the Hershey’s Milk Chocolate for 20–30 seconds, remove the bowl and stir it with a spoon. If the chocolate isn’t completely melted and still requires additional time, go ahead and microwave it in very small increments, being super careful not to overcook it and cause it to harden. Dip your stick/straw in the melted chocolate and insert it in a marshmallow, allowing it to harden a bit to act as a glue. Repeat this step for the remainder of your pops.
Step 4:
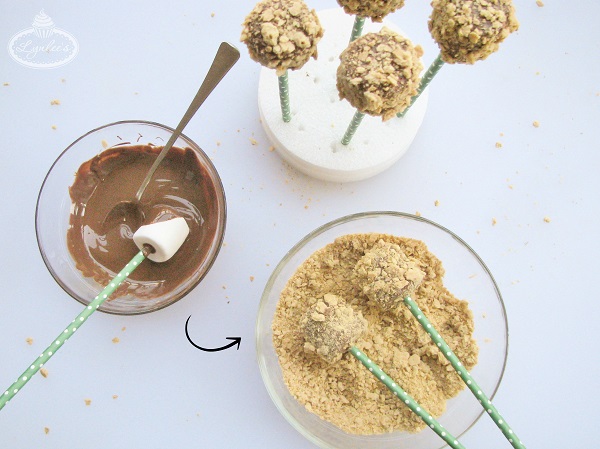
Take one of the marshmallows on a stick and coat it in the melted chocolate. Cover the entire surface, but make sure to tap it enough to remove as much as the excess as possible. Begin to roll it around in the bowl of graham cracker crumbs and fill in any gaps by sprinkling the crumbs with your fingers. I suggest allowing the chocolate to set a bit while laying in the bowl of cracker crumbs before sitting it upright in the foam to avoid any drips! Repeat with the remainder of the pops.
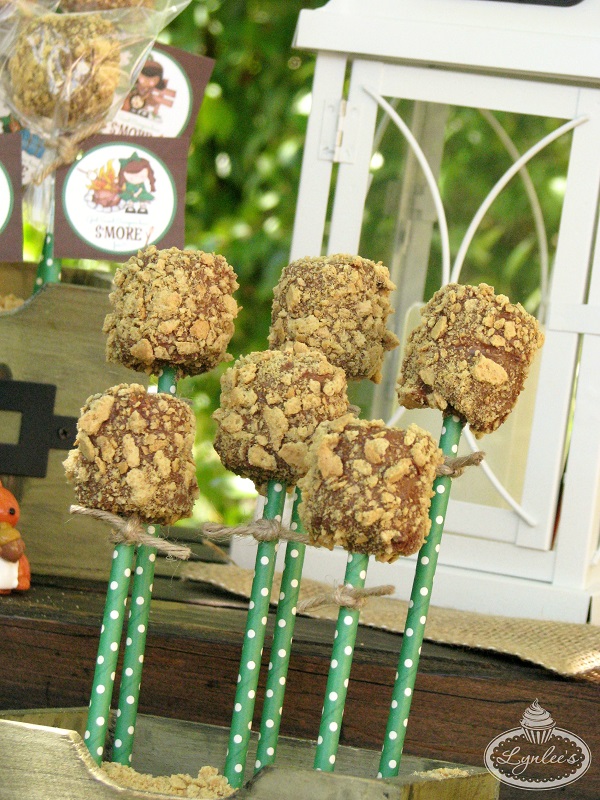
And voilà! You’re done! Super simple, right?! In addition to the fact that these Summer treats can be taken on the go, I just love how easy they are to make, especially with kids! They are fun to make and there’s no pressure to make them look perfect!
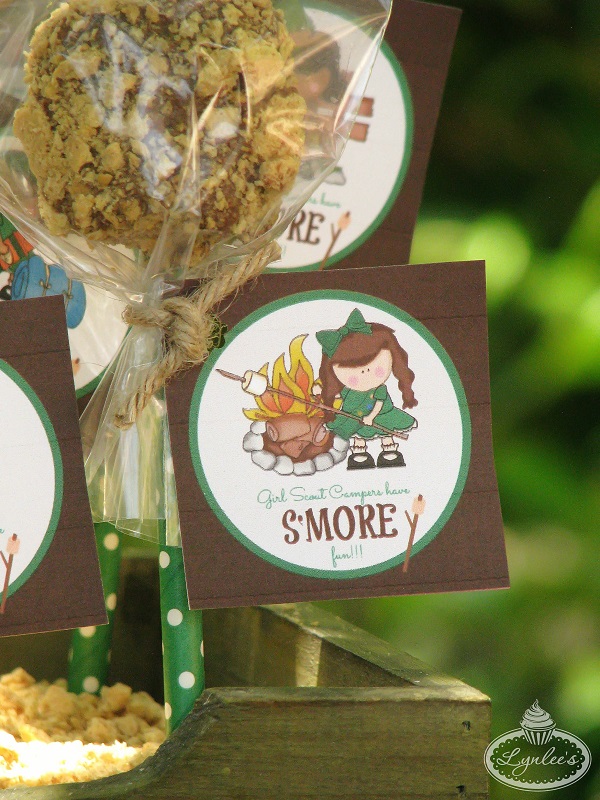
Of course, you can easily dress them up and make them even cuter! I made the s’mores pops in the past with lollipop or wooden sticks, but this time around, I wanted to spruce them up with the use of colored paper straws and customize them with little tags that read: Girl Scout Campers have S’MORE fun! Since Anabelle will be taking them with her for her fellow troop members, I packaged them in small little plastic bags and tied them with twine. Between straws and ribbons and tags, the possibilites are endless to personalizing them to any occasion!
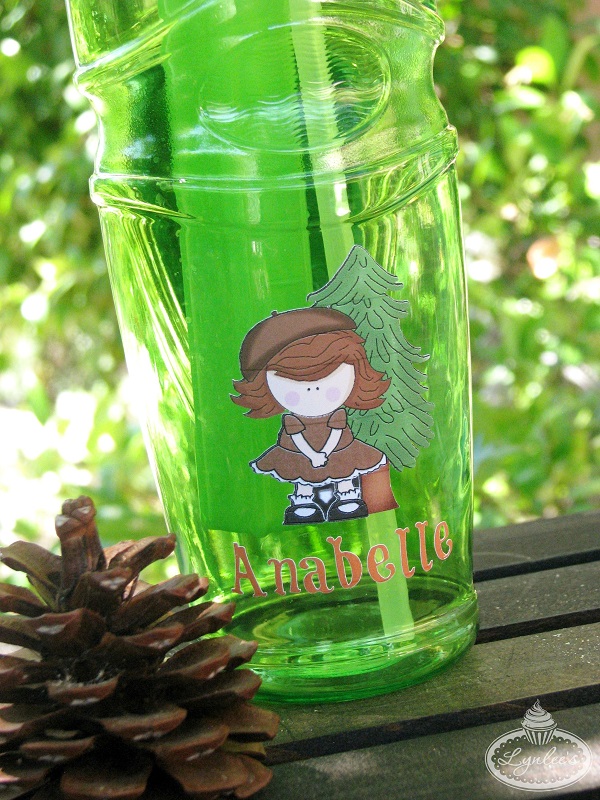
Though I’m just a tiny bit anxious, I know Anabelle is going to have an amazing time with her Girl Scout troop at camp this weekend and I’m so happy to be able to provide a little taste of home to her activities with these S’mores Pops that don’t even require a campfire!
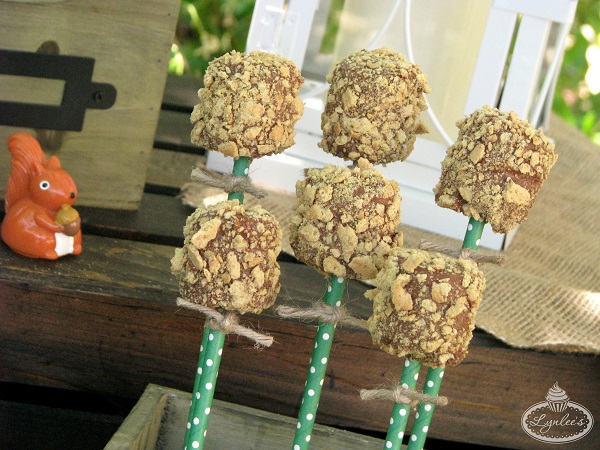
Check out more inspiration for both indoor and outdoor S’MORES recipes for additional ideas! Do you have any other s’mores recipes your and your family love to make?!
Merci Beaucoup!

This page may contain affiliate links. For more information, please read my Terms & Disclosure policy.


What a fun way to serve s’mores! Definitely making this for our next neighborhood gathering! #client
Thank you so much, Stephanie! It was definitely a bit hit with the girl scouts and at all our past get-togethers! And super simple, too! 🙂