National Doughnut Day is this Friday and to celebrate, and my sweet friend, Dawn of Revel and Glitter brought 10 of her favorite and oh-so-talented party and lifestyle bloggers together for a week long party blog hop bringing you crafts, parties and recipes everyday, including my tutorial to create doughnut cupcakes!
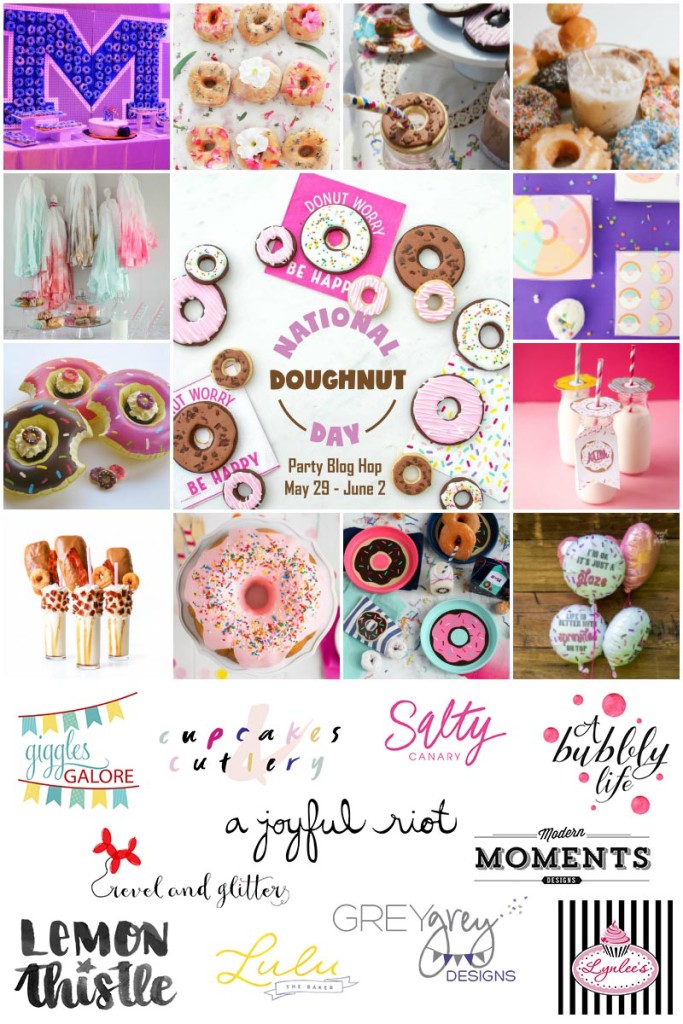
A Bubbly Life | A Joyful Riot | Cupcakes + Cutlery | Giggles Galore | Grey Grey Designs | Lemon Thistle | Lulu The Baker | Lynlee’s | Modern Moments Designs | Salty Canary
If you are not familiar with these extremely talented women by now, for what are you waiting?! Head on over and check them out and I can assure you won’t be disappointed!
We also have an awesomely sweet Pinterest board, Always Time For Doughnuts, full of our favorite doughnut inspired ideas! Eventually, all of our projects will be there so be sure to follow it for lots of sweet inspiration.
We are on day FOUR (check out Day ONE with our giveaway, Day TWO, and Day THREE projects) and we are bringing you three more fabulous doughnut themed projects, including my own: doughnut cupcakes!
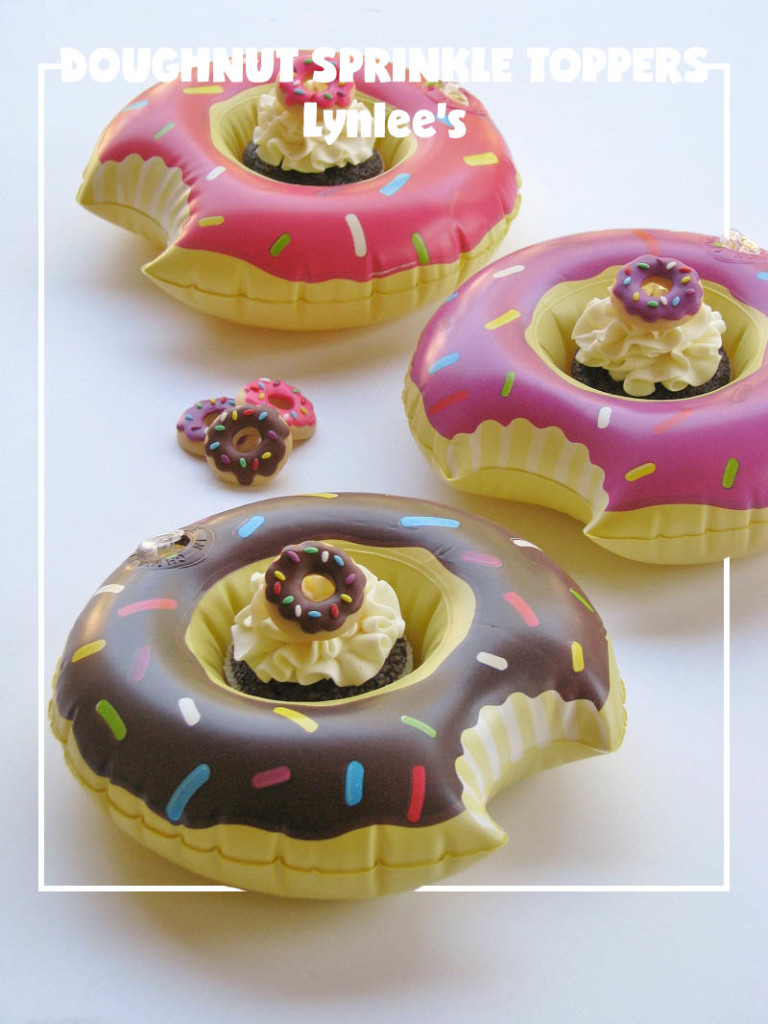
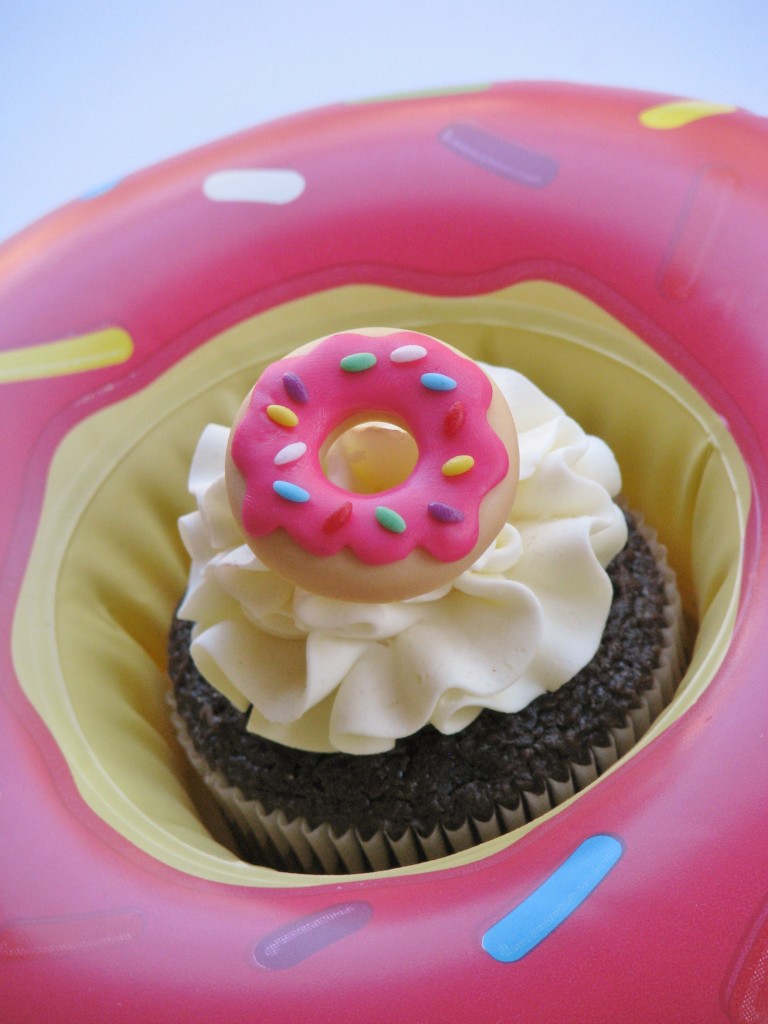
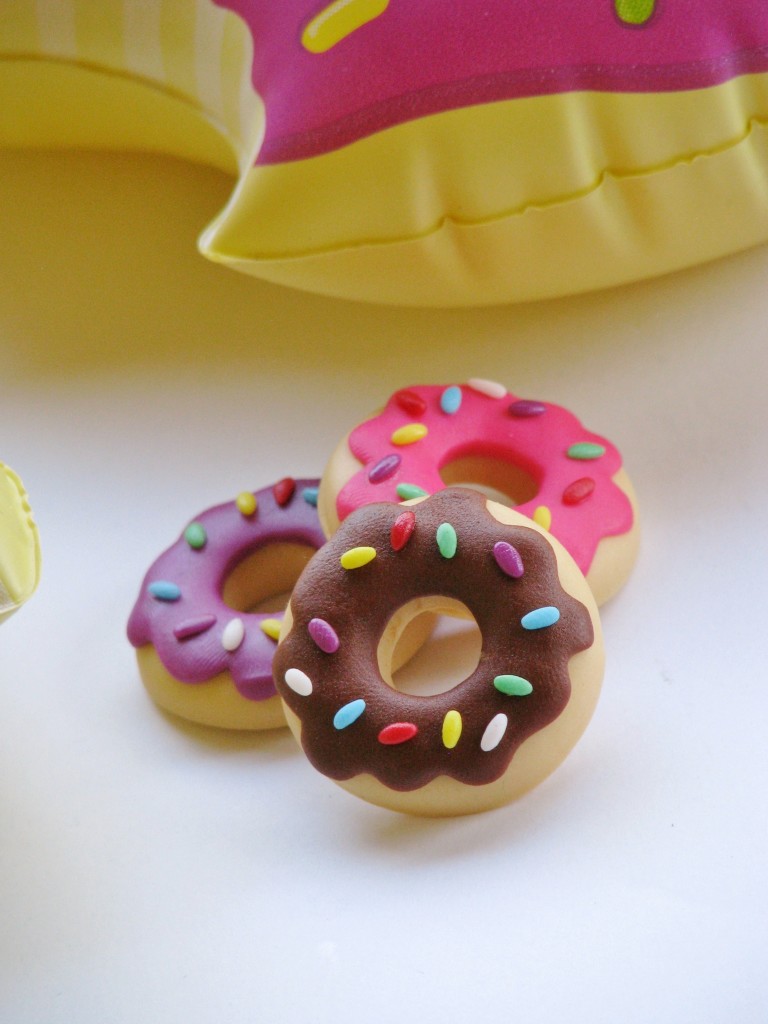
Of course, for my contribution to this fun project, I just HAD to make doughnut cupcakes! These fondant cupcake toppers are super easy to make and can be a great to also do with kids! Follow the sweet and simple steps outlined below to create your own doughnut cupcakes to celebrate National Doughnut Day or adorn treats for a doughnut-themed celebration!
What you’ll need:
- Ivory, pink, brown and purple fondant with tiny bits of other colors for sprinkles
- Water/edible glue and brush
- Fondant rolling pin w/ 1/8″ guide rings
- 1/4″ wooden dowels
- Miniature circle cutter
- __” circle cutter
- 7/8″ scalloped circle cutter
- Round decorating tip Nos. 3 and 12
- Plastic wrap
- Vegetable shortening
- Cupcakes and icing
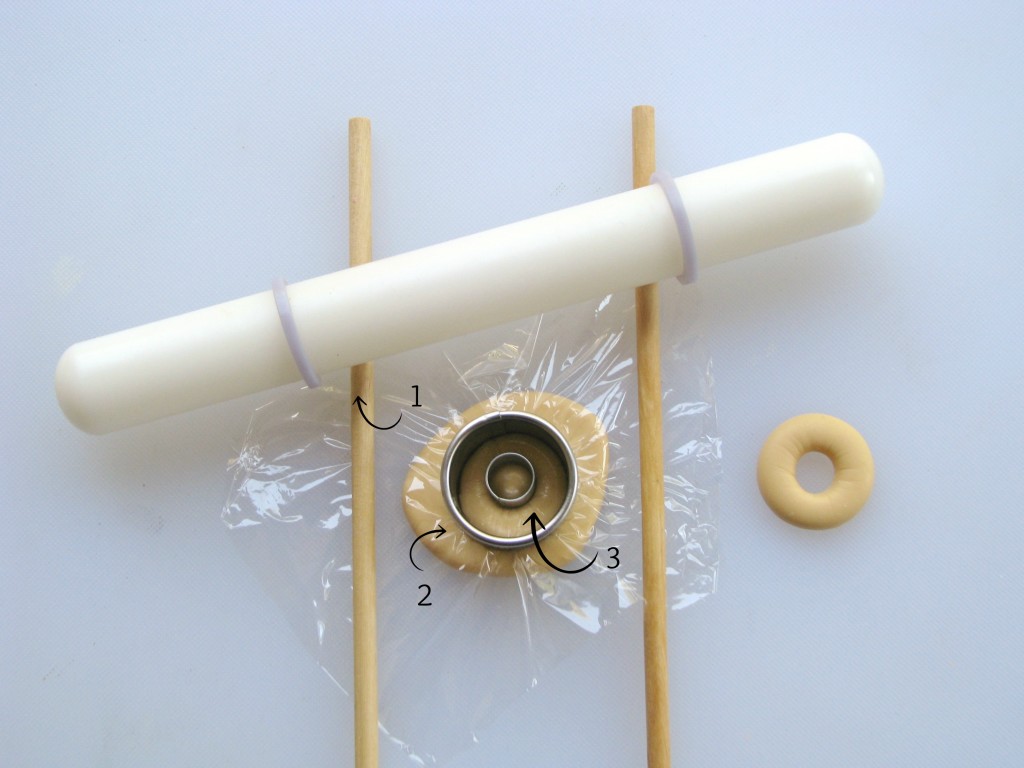
Step 1:
Roll ivory fondant thick with the rolling pin and 1/8″ guide rings.
Step 2:
Place a piece of plastic wrap over the top of the fondant, then cut out a circle with the __” round cutter. Remove the circle and place it back onto your work surface.
Step 3:
Place the plastic wrap over the circle and utilize the miniature round cutter to punch out the center of the circle, creating the doughnut.
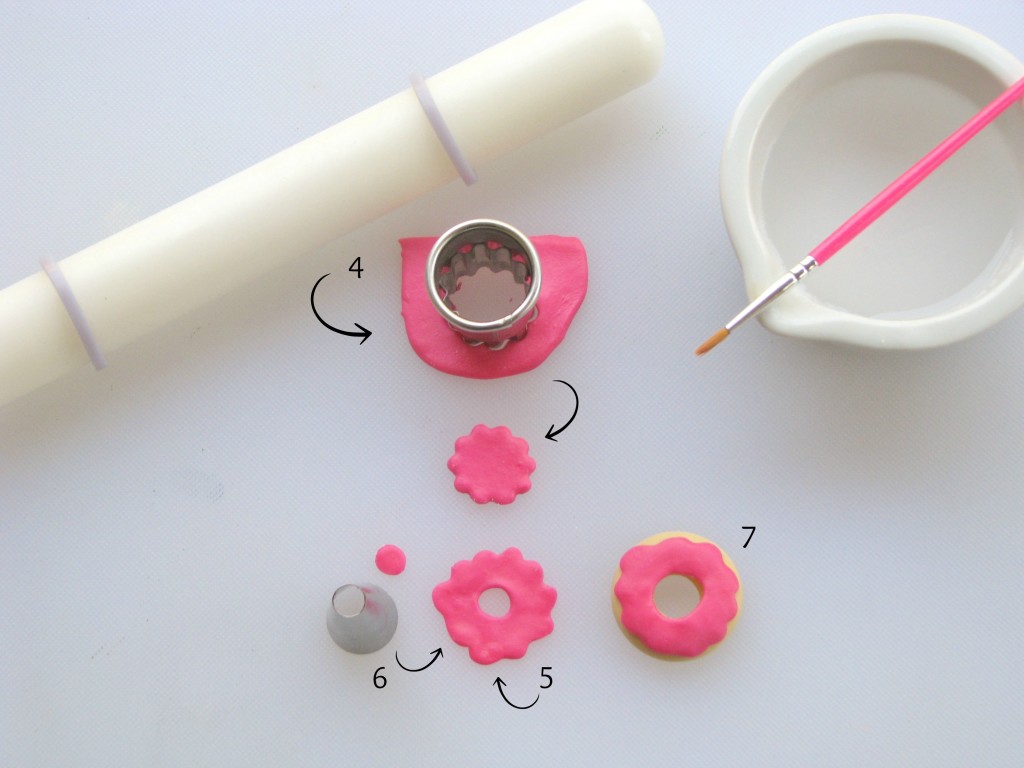
Step 4:
Rolled out colored fondant {pink, brown, purple or the color of your choice} on your work surface with the rolling pin and 1/8″ guide rings. Cut out a circle with the 7/8″ scalloped cutter.
Step 5:
Apply a tad bit of vegetable shortening on the fondant with your finger, then begin to slowly and gently pull it apart around the perimeter enough that it will fit on your doughnut.
Step 6:
With round decorating tip No. 12, cut out a hole from the very center of the fondant, creating the glaze.
Step 7:
Glue the fondant glaze to the doughnut, centering the holes in the appropriate position.
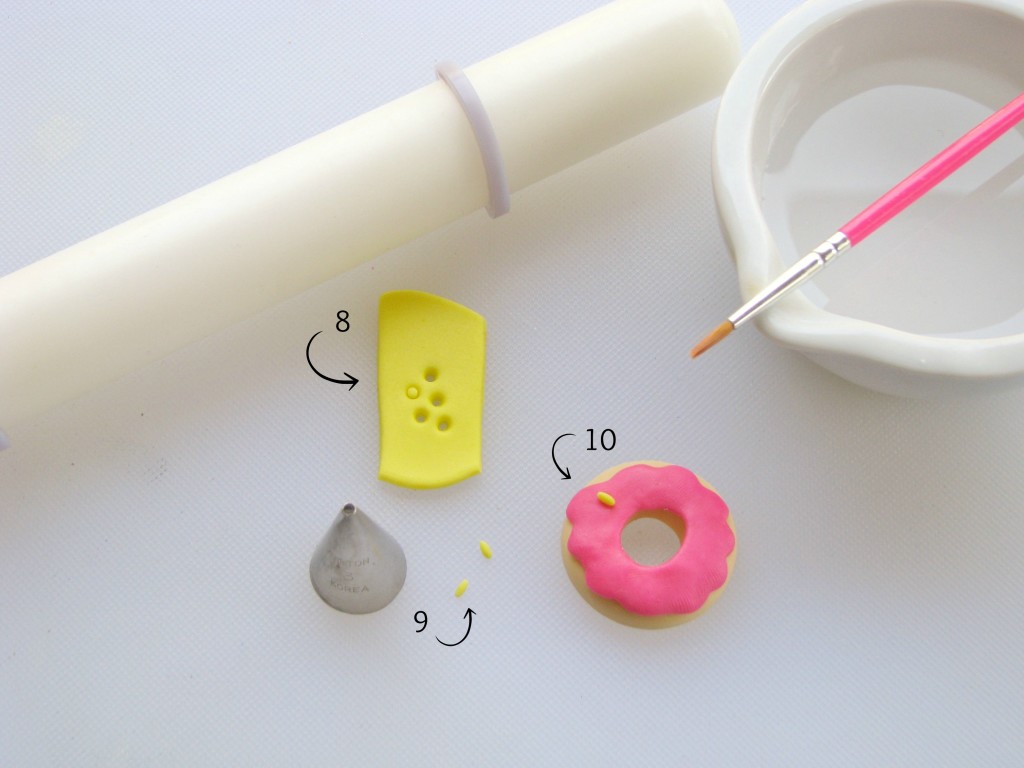
Step 8:
Now, onto the sprinkles! Roll out one of the colors with the rolling pin and 1/8″ guide rings. Cut out approximately 5 circles with round decorating tip No. 3.
Step 9:
Take a circle and roll it into a ball, then gently roll it onto your work surface to thin it out a bit to make a sprinkle. Repeat these steps for the remaining circles and with additional colors.
Step 10:
Glue the sprinkles to the glazed doughnut and allow the fondant to dry thoroughly (1–2 days) prior to topping your cupcakes!
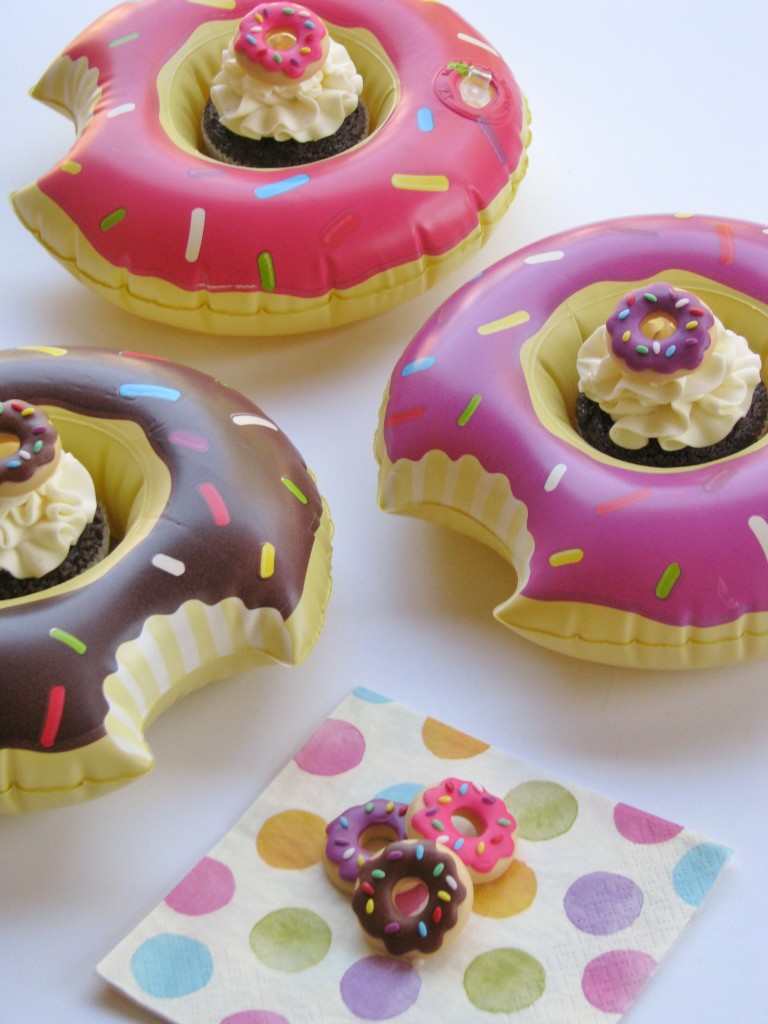
Don’t forget to check out the other two tutorials from my fellow blog hop participants! Hop on over to their blogs to check out the full tutorials!
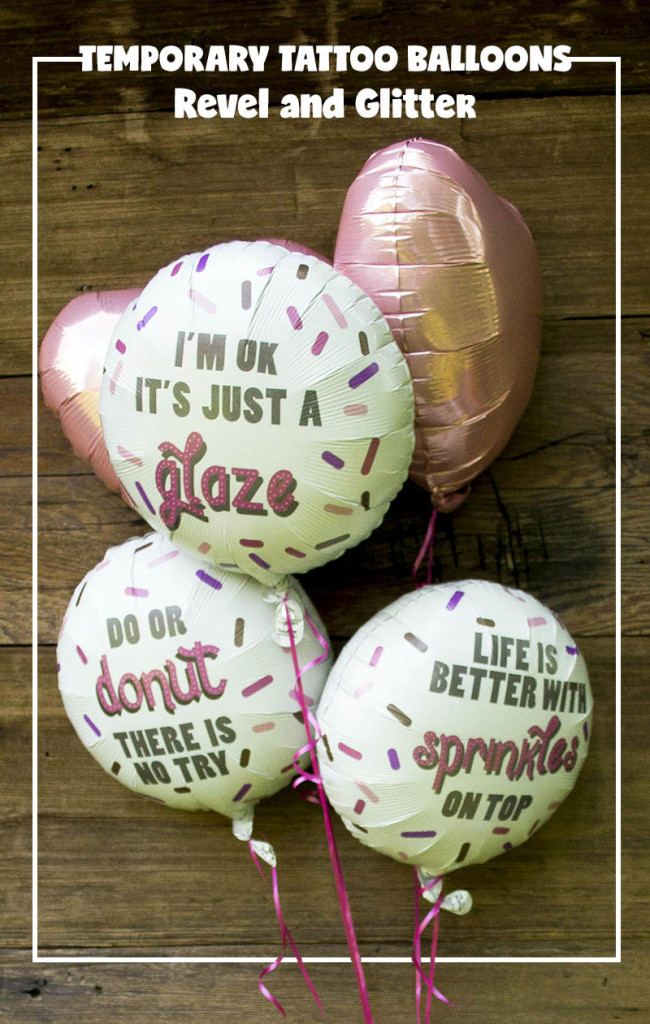
Temporary tattoo balloons from Revel and Glitter
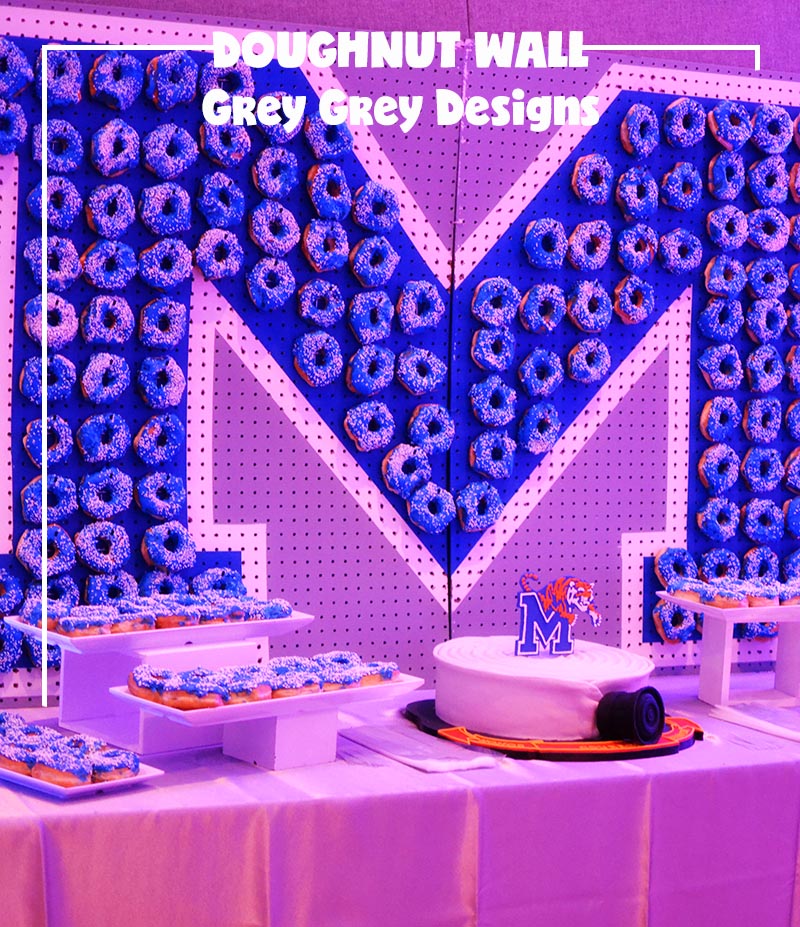
How to make a sports logo doughnut wall with Grey Grey Designs
And join us tomorrow to round out our National Doughnut Day Blog Hop with our final projects!
Merci Beaucoup!

This page may contain affiliate links. For more information, please read my Terms & Disclosure policy.


[…] Sprinkle toppers for doughnut cupcakes with Lynlee’s […]